
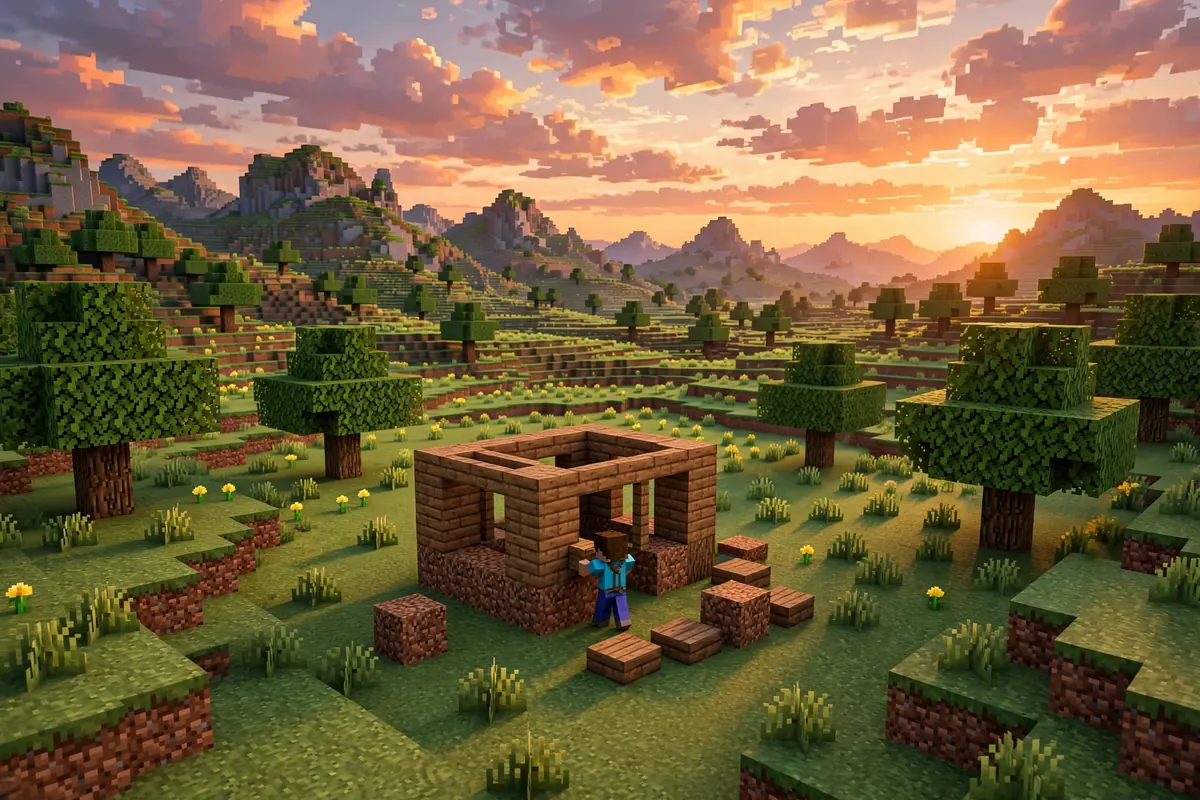
How to Survive Your First Night in Minecraft
Table of Contents
Learning to survive first night in Minecraft comes down to a simple order: wood, tools, shelter, light, food, and a bed. My first night in a fresh Minecraft world went badly. I wandered too far from spawn, the sun dropped faster than I expected, and I spent the whole night crouched in a dirt hole I’d dug in a panic. Here’s the exact routine I follow now so night one goes smoothly.
How Much Time You Actually Have
A full Minecraft day-night cycle runs about 20 real-world minutes. Roughly 10 of those minutes are daylight, another 7 are night, and the rest is split between dusk and dawn. That gives you close to 10 minutes from the moment you spawn before hostile mobs start appearing. Enough time to get the basics done, but not enough to wander far.
Step 1: Get Wood First
Everything in early Minecraft starts with wood. Walk up to a tree, hold down the attack button, and keep going. Aim for at least 16 logs before you stop. That covers a crafting table, basic tools, and enough for shelter walls.
A quick trick that saves time: start punching a tree from around the middle instead of the very bottom. The logs above fall into easy reach instead of scattering.
Step 2: Make Tools, and Don’t Skip the Shield
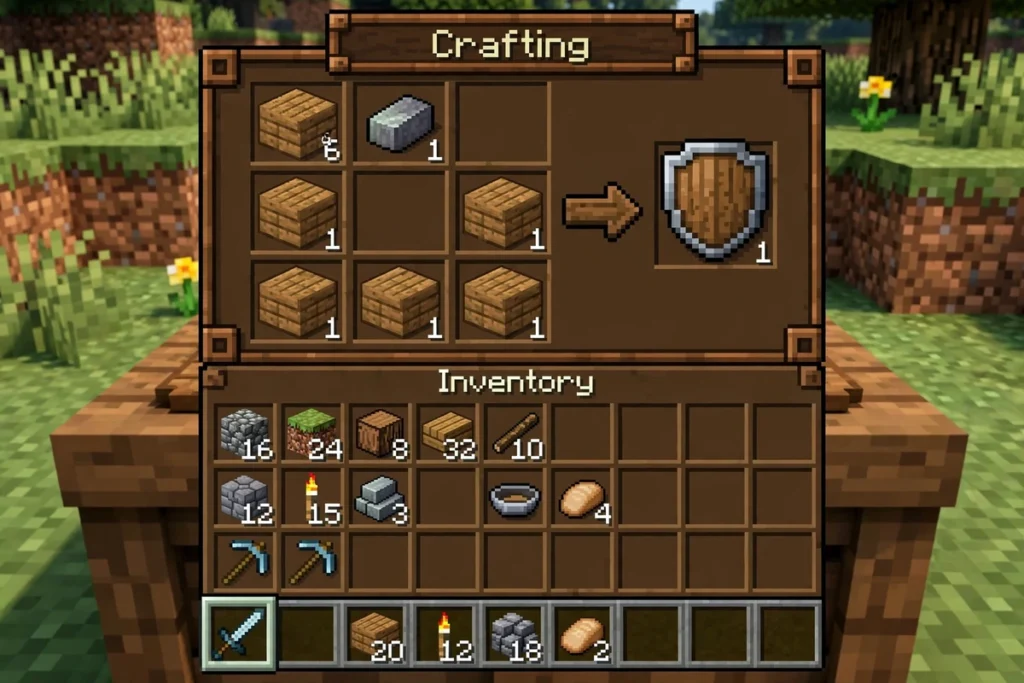
Turn four planks into a crafting table, then make a wooden pickaxe and sword. Once you’ve got the pickaxe, mine about 20 cobblestone from any exposed stone nearby. That unlocks stone tools, which last longer and hit harder than wood, plus a furnace for cooking and smelting.
A shield is one of the strongest things you can carry on night one, and most beginner guides barely mention it. It only costs 1 iron ingot and 6 wooden planks. Right-click with it equipped and it blocks almost all melee damage, arrows, and even creeper explosions if you’re not standing right on top of the blast. If you have to choose between finding iron for a shield or a stone sword, take the shield. Check exposed rock on hillsides, the walls of any nearby cave entrance, or gravel patches near water, where iron sometimes sits close to the surface.
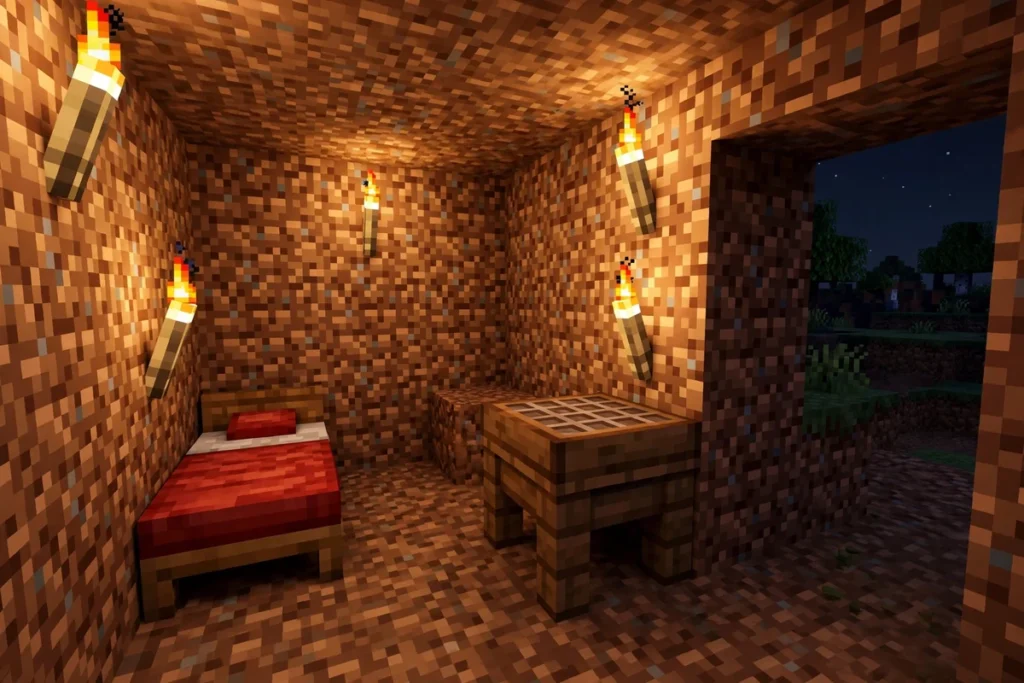
Step 3: Build Shelter Before the Sky Turns Orange
You don’t need anything elaborate. Three solid options:
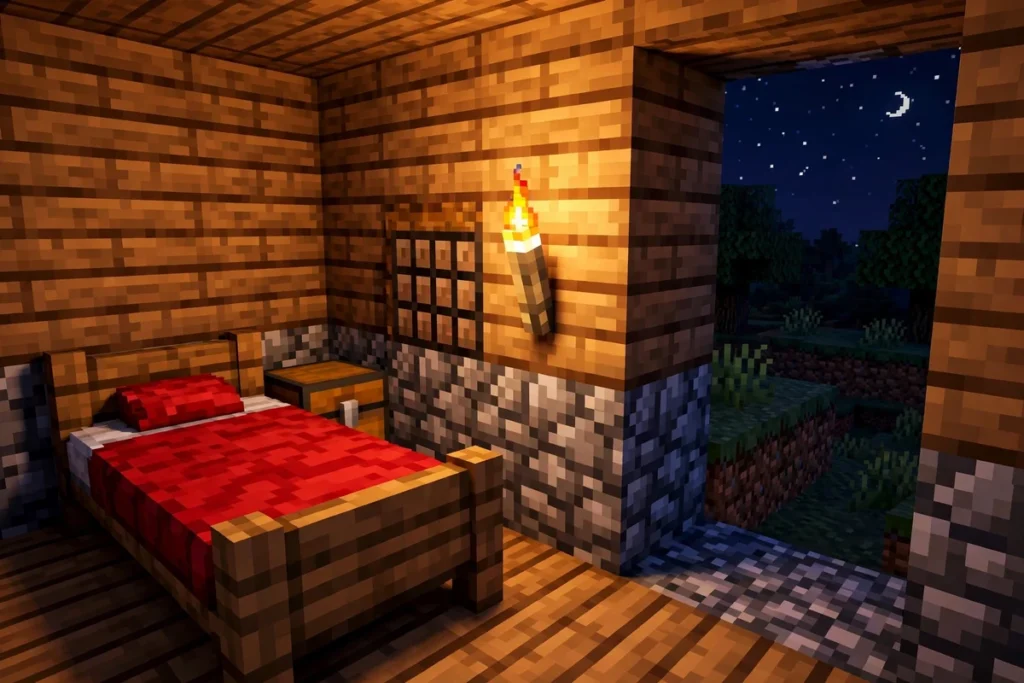
- Dig into a hillside. Three or four blocks deep, two blocks tall, then block the entrance behind you. Fastest option by far.
- Build a simple box. A small dirt or wood structure with a sealed roof works fine. No windows needed on night one.
- Go straight down carefully. Dig at an angle, never straight beneath your own feet, and seal yourself into a small underground room.
Whichever you pick, check for gaps. A single missing block in a wall or roof is enough for a mob to reach you, and it’s the most common reason a “finished” shelter fails anyway.
Step 4: Light Every Corner
This is the step that got me on my first playthrough. Mobs spawn anywhere the light level drops to 7 or lower, including inside a shelter you already sealed shut, if a corner stays dark.
Torches need 1 coal (or charcoal) plus a stick, and each craft gives you four. No coal on hand? Smelt a spare log in your furnace using another log as fuel. That produces charcoal, which lights exactly the same as coal.
If you’ve got copper on hand, Copper Torches are a newer option, crafted from a copper nugget, coal or charcoal, and a stick. They give off the same light level as a regular torch, but burn with a green flame instead of orange. It’s copper’s first new colored-light option since soul torches. Purely cosmetic, but a nice touch if you happen to have copper before coal.
Step 5: Get Food Sorted
You can push through night one without eating, but your hunger bar drops every time you sprint, jump, or fight, and once it’s empty you start losing health. Cows, pigs, and sheep are your fastest options. Kill one, then cook the meat in your furnace before eating it. Raw chicken specifically carries about a 30% chance of food poisoning, which drains your hunger even faster than not eating at all, so cook it every time instead of risking it raw.
Step 6: Craft a Bed
A bed does two things: it skips the night entirely, and it sets your respawn point. Three wool plus three planks in a row gets you one. Color doesn’t matter, so whatever sheep you find first is fine. Kill two or three sheep, craft the bed, place it inside your shelter, and sleep as soon as the option appears.
If your bed is destroyed while you’re away, your spawn point resets to the world’s original spawn, not your base. Keep it protected once you’ve got one down.
Mobs You’ll Run Into When Trying to Survive First Night in Minecraft
- Zombies. Slow, melee only, burn in sunlight. Back up and hit, repeat.
- Skeletons. Ranged. Close the distance fast so arrows miss, or block with a shield.
- Creepers. Silent until they hiss, then you’ve got about 1.5 seconds to sprint away before they explode.
- Spiders. Hostile at night, neutral in daylight.
- Endermen. Don’t make eye contact. If you accidentally do, don’t run; they’ll just teleport to you.
- The Creaking. Exclusive to the Pale Garden biome, covered below. It only moves while you’re not looking directly at it.
A Warning About the Pale Garden
If you spawn near pale, almost bone-white trees with a foggy, muted light, you’ve landed in a Pale Garden, a newer biome with no passive animals and an unsettling quiet to it. The Creaking that spawns here freezes in place whenever you’re looking at it and only advances when you look away. It’s not a good place to try surviving your first night. If you find yourself in one, keep walking until the biome changes rather than trying to build here immediately.
Common First-Night Mistakes
- Exploring too long. Watch the sky, not the clock. Start building the moment the sun touches the horizon, not after.
- Leaving one gap unlit or unsealed. This is how mobs end up inside a shelter you thought was finished.
- Eating raw chicken out of desperation. The poison chance makes your hunger situation worse, not better.
- Punching a creeper. Melee range is exactly where you don’t want to be when one explodes.
- Skipping the shield entirely. A single iron ingot spent here does more for your survival odds than most other early choices.
Frequently Asked Questions
How long does one night last in Minecraft?
About 7 real-world minutes, inside a full day-night cycle of roughly 20 minutes total.
Can I skip the night without a bed?
Only with cheats enabled in single-player (/time set day). Without cheats, you either sleep in a bed or wait it out.
Do mobs really spawn inside a sealed shelter?
Yes, if any part of it drops to light level 7 or lower. Check every corner, not just the areas you walk through regularly.
Is a shield really worth making before armor?
For night one specifically, yes. It only costs 1 iron ingot and blocks most damage types, which is a better survival return than the iron you’d need for even one piece of armor.
What should I do if I spawn in a Pale Garden?
Keep walking until the biome changes. It has no food sources and a tricky new hostile mob, making it a poor place to survive your very first night.
Final Thoughts
The order matters less than covering everything: wood, tools (with iron for a shield if you can manage it), a sealed and fully lit shelter, cooked food, and a bed. Get through that sequence once and the second night, and every one after it, gets a lot easier. For your next step beyond night one, check our guide to the Minecraft Sulfur Cube, and start from the Minecraft Mod APK homepage for more guides.




7 Comments