Minecraft for Beginners: Gameplay Guide — Your First Week, Step by Step (2026)
Every long-running Minecraft world — the castles, the farms, the enchanted netherite gear — starts exactly the same way: one player, empty hands, and a tree. This minecraft for beginners guide turns that overwhelming first spawn into a calm, step-by-step plan. You will follow a simple schedule for your first seven in-game days: shelter and tools on Day 1, food and mining by Day 3, iron armour and real exploration by Day 5, and Nether preparation by Day 7.
No experience is assumed. Every instruction works on Bedrock Edition (phone, tablet, console and Windows) — what most new players in 2026 are playing — and on the current stable release, 1.26.52. Follow the days in order, and by week’s end you will not just be surviving; you will be ready for everything the game opens up next.
Before Day 1: Five Minutes of Setup That Save You Hours
Create your world with these settings:
- Game mode: Survival. This is the real game — health, hunger, gathering and crafting. Creative mode (unlimited blocks, flying, no damage) is a wonderful sandbox for practising builds, but learn survival first.
- Difficulty: Easy (or Normal for the standard experience). Peaceful removes hostile mobs entirely — fine for very young players, but it also removes resources you will need, so Easy is the better teacher.
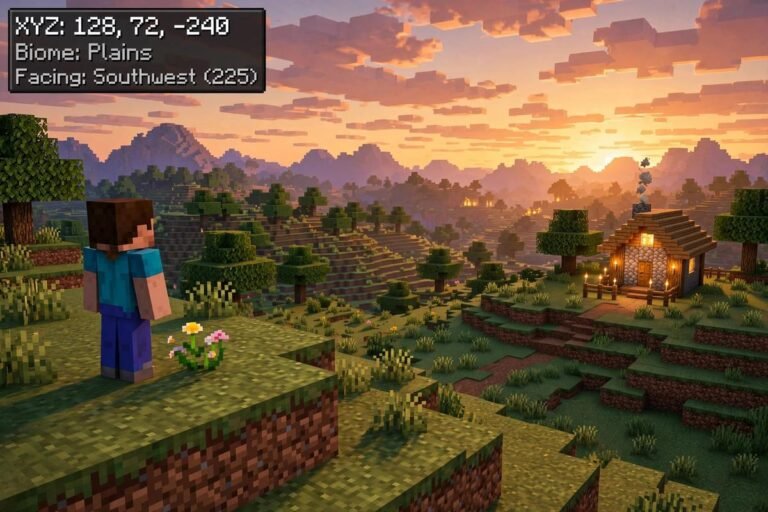
- Turn ON “Show Coordinates” in Game settings. Coordinates (X, Y, Z) are how you find your way home and return to anything interesting. Every experienced player plays with them on.
- Leave cheats off for your first world. “Keep Inventory” is tempting, but learning to respect death — and to prepare properly — is what makes the game satisfying. Achievements also require cheats to stay off.
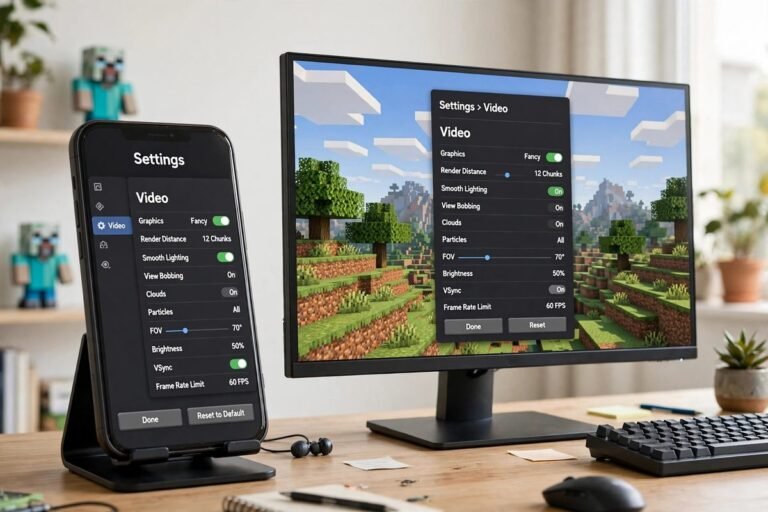
- Pick a good control scheme. On touch screens, try the joystick-and-aim option; it is the most comfortable scheme once your fingers learn it.
One thing to know: a Minecraft day lasts about 10 real minutes, followed by roughly 7 minutes of night — the timer that drives everything in Week 1. Sun up means working outside; dark means indoors or underground, no exceptions until you have armour.
Day 1: Wood, Tools and a Roof Before Dark
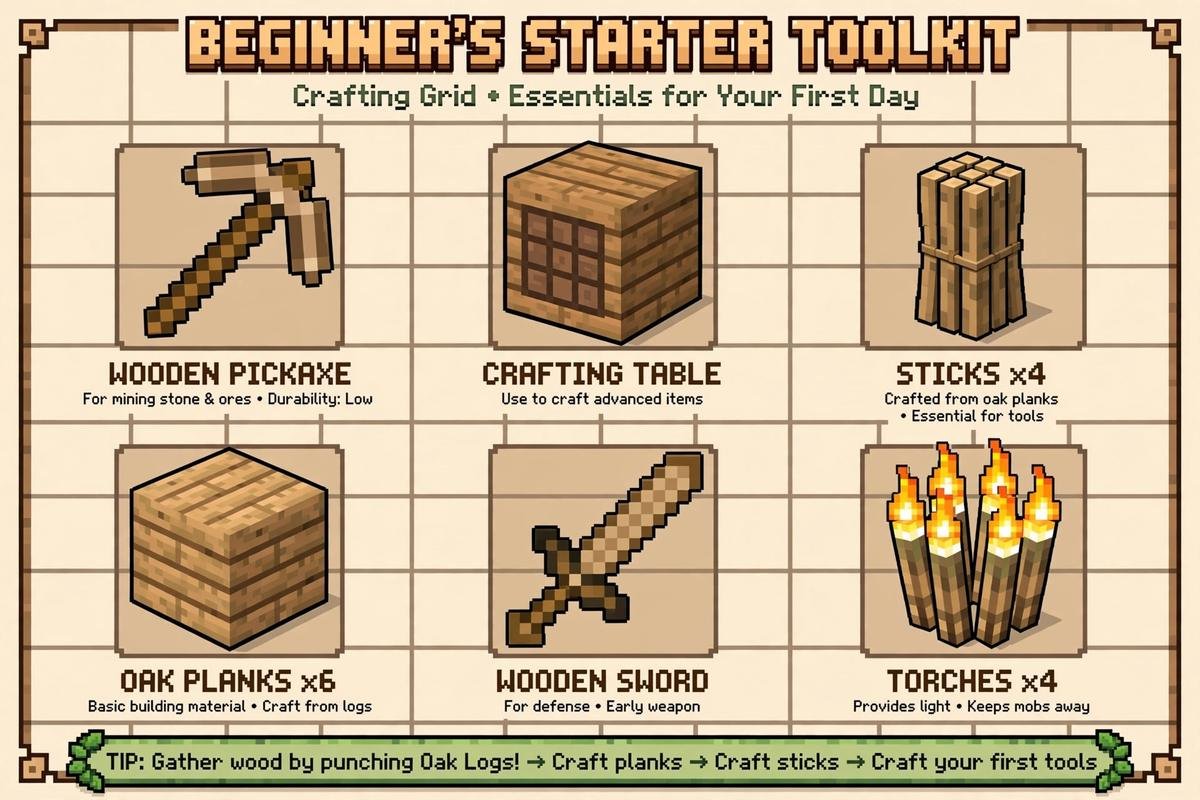
Hour one: punch a tree. Hold down on an oak or birch trunk until it breaks. Collect at least 10–15 logs. Turn logs into planks in your inventory crafting grid, then build a crafting table (4 planks). Place it, and craft in this order:
- Wooden pickaxe (3 planks + 2 sticks) — the most important object in the game.
- Wooden axe and shovel — they make gathering far faster.
- Extra sticks and planks for later.
Midday: upgrade to stone. Mine into a hillside or dig down a few blocks with your pickaxe until you reach stone. Collect 20+ cobblestone, then craft a stone pickaxe, stone axe, stone sword and a furnace (8 cobblestone). Stone tools are dramatically faster and tougher than wood, and the wooden pickaxe’s only job in life was to get you here.
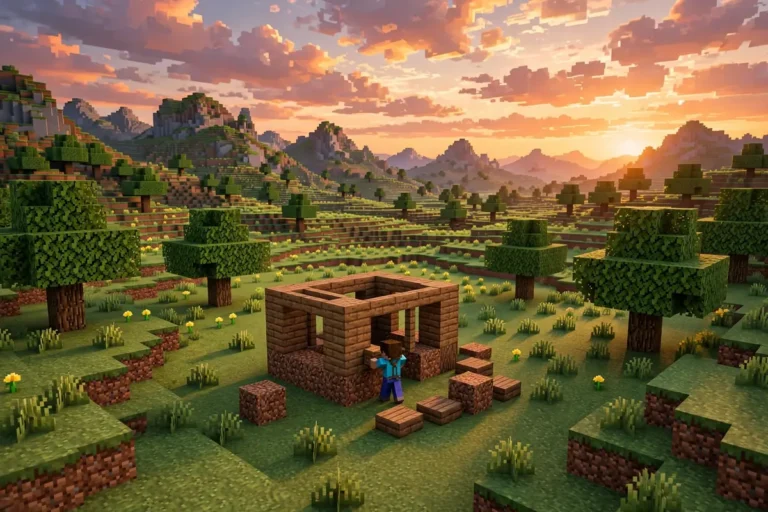
Afternoon: shelter and light. Pick a spot near where you spawned — ideally flat ground near trees and water — and build the simplest possible shelter: four walls, a roof, a door. Dirt is ugly but fine on night one. Then make torches: mine coal if you see black-flecked ore in a cave entrance or hillside, or burn a log in your furnace to make charcoal; one coal/charcoal + one stick = 4 torches. Light the inside of your shelter and around the door. Monsters spawn in darkness; light is your fence.
If you find three sheep: shear or (this week only) kill them for 3 wool and craft a bed (3 wool + 3 planks). A bed lets you skip the night entirely and — just as important — sets your respawn point at your base. Our full first night survival guide goes deeper on night-one tactics if you get caught outside.
Eat. Your hunger bar drains even while standing around. Apples from oak leaves and furnace-cooked meat are your Day 1 menu — and cooked food restores far more hunger than raw.
Day 2: Food Security and a Real Base
Survival gets much easier once food stops being an emergency.
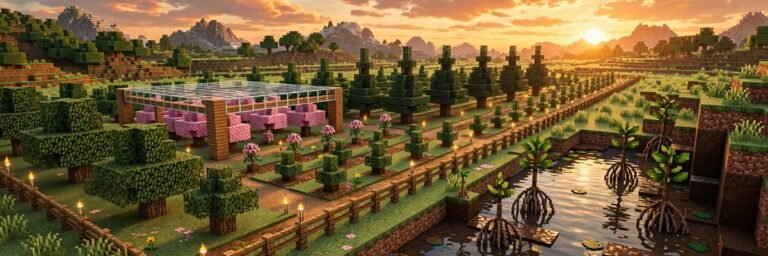
- Start a wheat farm. Break tall grass to get seeds, craft a hoe, till dirt next to water, and plant. Wheat becomes bread — reliable, stackable food. Fence a small pen nearby and lure two cows or pigs in with wheat or carrots; breeding pairs mean food forever.
- Expand the shelter into a base. Add a storage corner (chests: 8 planks each), your bed, furnace, and crafting table in one lit room. Dig a basement storey if the surface feels crowded.
- Make a shield (6 planks + 1 iron ingot, once you have iron — see Day 3). On Bedrock, holding a shield up blocks skeleton arrows and, crucially, creeper explosions. It is the single best defensive item for new players.
- Explore a 200-block circle around base in daylight. Note the nearest village, cave entrances, and interesting biomes — our best Minecraft biomes guide explains what each biome is good for. Drop torches or build a tall dirt pillar at anything worth finding again, and write down its coordinates.
Day 3: Go Underground — Coal, Iron and Your First Armour
Caving is where the game really starts. Prepare first: stone pickaxe plus a spare, 30+ torches, cooked food, your sword, and an empty inventory (leave valuables in a chest — if you die down there, you will lose what you carried).
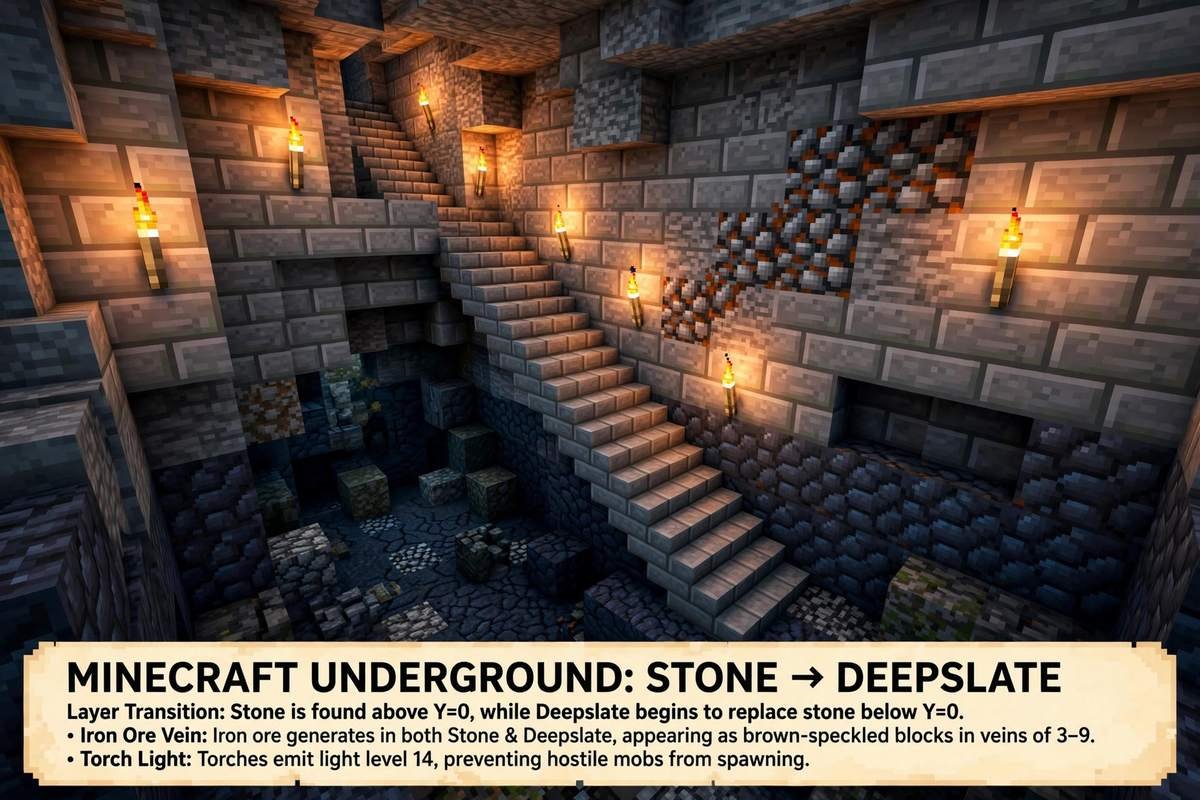
Find a cave or dig a staircase mine from inside your base: a 45-degree stair going down, two blocks wide, torch every 8–10 steps. Never dig straight down — the block under you might be a cave roof or a lava pool.
You are hunting, in order:
- Coal (black-flecked stone, common everywhere) — torches and furnace fuel.
- Iron (beige-flecked stone, common from the surface down to deep levels) — smelt it in the furnace. Iron is the Week 1 jackpot: iron pickaxe (required to mine diamonds later), iron sword, shield, bucket (carry water — it puts out fire, breaks falls, and moves lava safely), and a full set of iron armour.
- Copper (orange-flecked) — mostly decorative for now; grab a little for a spyglass or lightning rod.
Craft armour as soon as you have 24 iron ingots total. Armour reduces damage enormously, and a full iron set turns night from terrifying to manageable. If you meet hostile mobs in caves, back up while swinging, use your shield against skeletons, and never fight next to a lava pool. Running away is a legitimate strategy — the ore will still be there tomorrow.
Days 4–5: Villages, Trading and Real Exploration
With iron armour and a shield, the world opens up.
- Find a village. Villages are food, beds, loot and your first economy. Villagers trade: early essentials include exchanging wheat, coal or rotten flesh for emeralds, and buying useful gear from smiths. Protect the village — light it up and keep zombies away from the villagers; trading later becomes one of the game’s most powerful systems.
- Tame a companion. Wolves (bones) in taiga and forest biomes become loyal dogs; horses make overland travel fast. See our guide on how to tame animals in Minecraft for exactly what each animal needs.
- Upgrade your base’s look. Swap dirt for planks and cobblestone, add glass windows (smelt sand), and use torches or lanterns generously. If the plain look bores you, our round-up of the best Minecraft texture packs shows how much a good pack changes the game on mobile.
- Start a sugar cane and tree farm next to base. Paper (from cane) and books are about to matter a lot.
Days 6–7: Enchanting and Preparing for the Nether
Two systems define the step from “beginner” to “player”: enchanting and the Nether.
Enchanting, the short version. Mine 4 obsidian (diamond pickaxe required — which means finding diamonds first, see below) and combine them with 2 diamonds and a book to craft an enchanting table, and surround it with bookshelves to unlock stronger enchantments. Even basic enchants — Protection on armour, Efficiency and Unbreaking on tools — transform your strength. Our complete enchanting table setup guide covers the exact bookshelf layout and the best first enchantments to choose.
Diamonds, honestly. Diamonds generate deep underground, most often in the deepslate layers around Y level −50 to −59, and are best found by branch mining or exploring deep caves at those levels. Find at least 3 for your first diamond pickaxe (save 2 more for the enchanting table). This takes patience — it is normal for it to be a Day 6–7 project, not a Day 1 one. Our guide to rare materials in Minecraft maps out where each valuable resource hides.
The Nether comes next. Once you have a diamond pickaxe, mine 10 obsidian and build a portal — the full method, including the no-diamond-pickaxe lava-casting shortcut, is in our guide to how to make portals in Minecraft. Do NOT go through unprepared this week: take iron armour or better, a shield, plenty of food, cobblestone for bridging, and write down your portal’s coordinates. The Nether is where Week 2 begins — blaze rods, potions ingredients, and the road to the End dimension all live there.
Seven Beginner Mistakes to Avoid
- Digging straight down (or up). Down ends in caves and lava; up ends in gravel suffocation or a long fall. Staircases always.
- Wandering without noting home coordinates. The #1 way new players lose their first base. Screenshot your base coordinates on Day 1.
- Fighting creepers head-on. They explode. Hit once, back away, let the fuse reset, repeat — or use a bow from range.
- Skipping the bed. No bed = respawn at world spawn, possibly hundreds of blocks from everything you own.
- Carrying everything you own. Keep a base chest. Expeditions should carry tools, food, torches — not your only diamonds.
- Punching a zombie villager / angering the village. Trade depends on villagers liking you. Protect them instead.
- Updating your game mid-project without a backup. New versions (including previews like 26.70.20) can change world behaviour. Back up worlds you care about before big updates — the habit takes two minutes and has saved countless worlds.
What to Do in Week 2
By Day 7 you should have: a lit, defensible base with a bed and storage; a wheat farm and animal pen; full iron armour, iron tools, a shield and a bucket; a staircase mine reaching the deep levels; and your first diamonds found or in progress. From here the game branches wherever you like:
- Build — turn the starter hut into a real home, a castle, or a village of your own.
- Explore — ocean monuments, ancient cities and the biome hunt, armed with the biomes guide.
- Progress — Nether fortress, blaze rods, brewing, and eventually the End and the Ender Dragon.
- Play together — everything in this guide is more fun with friends; our Pocket Edition page covers the Bedrock platforms and multiplayer options.
FAQ
Is Minecraft hard for complete beginners?
The first night is the hardest part. Follow the Day 1 plan in this guide — tree, tools, shelter, torches — and the game becomes steadily easier as your gear improves. Easy difficulty and a bed remove most of the early pressure.
Should beginners play Survival or Creative first?
Survival. Creative is a great building sandbox, but it skips the gathering, crafting and danger that teach you how the game works. Learn in Survival; use Creative to practise big builds later.
What should I do if I die and lose my items?
Your dropped items stay where you died for about 5 minutes of loaded game time. Run back along a known route (this is why base coordinates matter), grab them, and next time store valuables in a chest and set your spawn with a bed.
How long does it take to “finish” Minecraft?
Reaching and defeating the Ender Dragon takes most new players a few weeks of regular play — and the game doesn’t really end there. There is no deadline; Week 1 skills carry you the whole way.
Does this guide work on the phone version?
Yes. Everything here is written for Bedrock Edition, which is the version on Android, iOS, consoles and Windows. Steps, recipes and coordinates work identically across Bedrock platforms. The official site, minecraft.net, and the Minecraft Wiki are good companions if you want to check any recipe while you play.
Conclusion
Minecraft rewards preparation more than talent. Wood before stone, stone before iron, light before night, coordinates before exploring — stack those small habits for seven days and the game transforms from a scramble to survive into a world that’s genuinely yours. Start your world today, follow the plan day by day, and next week you’ll be the one giving beginners advice.
Sources
- minecraft.net (official Minecraft website) — game editions, current release information and where to get Bedrock Edition.
- Minecraft Wiki — crafting recipes, ore distribution levels, day/night cycle length, and enchanting table requirements referenced in this guide.
- minecraftmodapk.id internal guides (linked inline) — first night survival, taming animals, enchanting setup, portals, texture packs, biomes and rare materials guides.